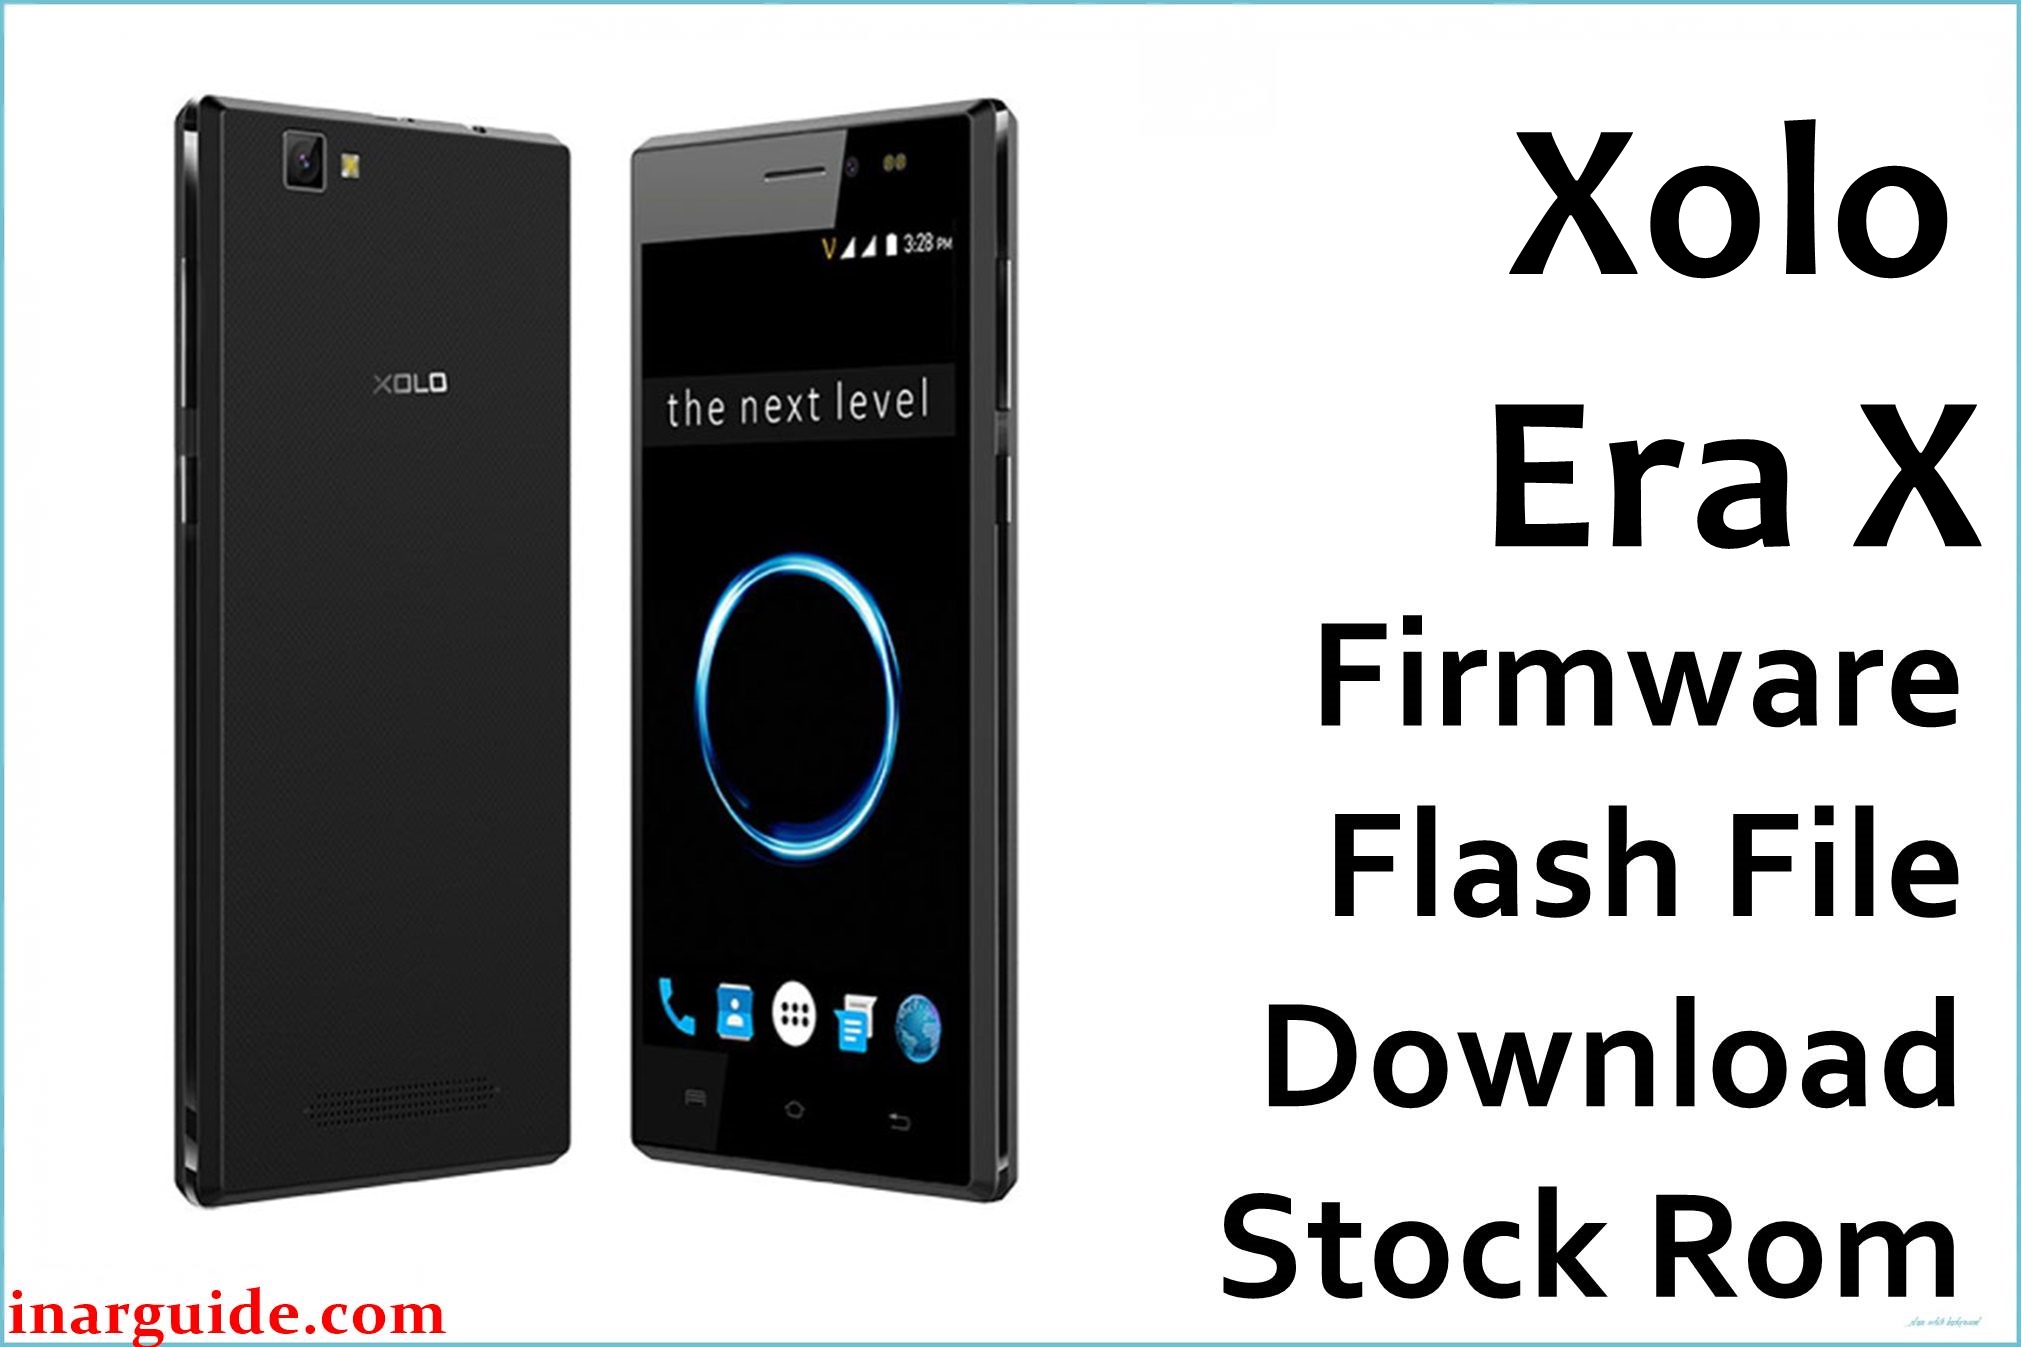
The Xolo Era X (MT6735) was a 4G LTE smartphone that developed a notorious and ironic software bug, as widely reported on user forums like XDA-Developers. Many units, particularly non-NFC variants, were plagued by a persistent “Unfortunately, NFC Service has stopped” error loop. This crash would appear incessantly despite the physical absence of an NFC chip, rendering the device nearly unusable due to the constant pop-up. This issue, combined with reports of mobile data failing to switch between SIM cards and “Smart Wake” gestures becoming unresponsive, pointed to flawed system configuration and sensor management. Flashing the official stock firmware, especially the final S206 build, is the definitive solution to disable the phantom NFC service and restore stable dual-SIM functionality.
Xolo Era X Firmware Details
| Device Name | Xolo Era X |
|---|---|
| Chipset | MediaTek MT6735 (Quad-core 4G LTE) |
| Key Feature | Dual SIM with 4G |
| Android Version | 5.1 Lollipop |
| Firmware Version | S112, S120, S206 |
| Build Date | Feb 17, 2016; June 3, 2016; Nov 8, 2016 |
| File Size | ~945 MB each |
| File Type | Flashable ZIP (for SP Flash Tool) |
| Flashing Tool | SP Flash Tool |
Download Official Firmware for Xolo Era X
Option 1: Firmware S112 (Early Build)
Size: 935 MB
Build Date: February 17, 2016
Download Link: MediaFire Direct Link
Option 2: Firmware S120 (Intermediate Build)
Size: 980 MB
Build Date: June 3, 2016
Download Link: MediaFire Direct Link
Option 3: Firmware S206 (Recommended Stable Build)
Size: 919 MB
Build Date: November 8, 2016
Download Link: MediaFire Direct Link
Why Flash This Specific Firmware?
- Eliminate “NFC Service has stopped” Error Loop: This is the most critical and device-specific reason for using this firmware. If your Era X is plagued by constant NFC crashes, flashing the S206 build is the definitive fix. It installs a system configuration that disables the NFC service on hardware that lacks the physical chip, which is the only proven method to permanently stop these errors, as confirmed by numerous user success stories.
- Fix Mobile Data Switching Between SIMs: Resolve the bug where the device fails to establish an internet connection after switching the active data SIM. The firmware flash reinstalls the RIL and data connection management files, ensuring a smooth and functional transition between SIM 1 and SIM 2 for mobile data.
- Restore “Smart Wake” Gesture Functionality: Address the issue where gesture controls like drawing a ‘C’ or ‘V’ on the off-screen fail to wake the device. This process reinstalls the sensor HAL and kernel drivers responsible for interpreting these touch gestures.
- Recover from System Instability and Bootloops: Unbrick your device if it has become unstable or stuck in a bootloop, often a consequence of the persistent system service crashes.
Some of the Bug / Firmware Fixes
- Firmware S206 (November 8, 2016): This final build included a crucial system configuration change that set
ro.nfc.port=I2Cto a null value or removed the NFC system app entirely for non-NFC hardware variants, directly eliminating the source of the persistent “NFC Service has stopped” crashes present in the S112 and S120 builds. - Patched the data connection management logic in the RIL, fixing the bug that prevented a successful internet connection handover when switching the active data SIM card.
- Updated the kernel-level touch panel driver to improve the reliability and responsiveness of the “Smart Wake” and “Knock-on” gesture features.
- Improved general system stability and security with updated kernel patches from MediaTek.
Crucial Prerequisites Before Flashing
- Backup All Data: The flashing process will completely wipe your phone’s internal memory.
- Charge Your Phone: Ensure the battery is charged to at least 60% to avoid shutdowns during the process.
- Install MediaTek VCOM Drivers: You must install the MediaTek USB VCOM drivers on your Windows PC.
- Download the Flashing Tool: You will need the SP Flash Tool.
- Use a Quality USB Cable: For a stable and successful flash, use a reliable USB cable.
How to Flash the Firmware
Flashing the firmware onto your Xolo Era X requires the SP Flash Tool. Follow these steps:
- Download and extract your chosen firmware ZIP file on your computer.
- Launch the SP Flash Tool and load the scatter file (
MT6735_Android_scatter.txt) from the extracted firmware folder. - Ensure the download agent and scatter file are correctly loaded, then select “Download Only” mode.
- Click the “Download” button in SP Flash Tool.
- Power off your Xolo Era X completely. Do not connect it to the PC yet.
- Connect the powered-off phone to your computer via USB cable. The tool will automatically detect the device and begin flashing.
- Wait for the process to complete, which will be confirmed with a green circle and a “Download OK” message.
- Disconnect the phone and power it on. The first boot can take 5 to 10 minutes.
For a complete guide with screenshots and more details, please visit our official tutorial: How to Flash Stock Firmware to MediaTek (MTK) Smartphones.


![Motorola Moto E20 XT2155-3 Firmware Flash File Download [Stock ROM] Motorola Moto E20 XT2155-3](https://www.inarguide.com/wp-content/uploads/2022/01/Motorola-Moto-E20-XT2155-3.jpg)
![Motorola Moto G Pure XT2163DL Firmware Flash File Download [Stock ROM] Motorola Moto G Pure XT2163DL](https://www.inarguide.com/wp-content/uploads/2022/01/Motorola-Moto-G-Pure-XT2163DL.jpg)
![Motorola Moto G20 XT2128-1 Firmware Flash File Download [Stock ROM] Motorola Moto G20 XT2128-1](https://www.inarguide.com/wp-content/uploads/2022/01/Motorola-Moto-G20-XT2128-1.jpg)